
How To Remove A Stainless Steel Splashback
Stainless steel splashbacks are a stylish and practical addition to any kitchen.
Their sleek, modern look, along with their durability and ease of cleaning, have made them a popular choice for many homeowners.
However, over time, you may wish to change your kitchen's design, upgrade your splashback, or need to repair the wall behind it.
This requires the safe and efficient removal of your stainless steel splashback.
While this task may seem tricky, with the right guidance, tools, and a bit of DIY skill, it can be achieved without too much trouble.
In this post, we'll guide you step by step through the process, providing practical tips along the way to help you safely remove your stainless steel splashback.
Click here to see our range of aluminium Alusplash splashbacks.
How to Remove a Stainless Steel Splashback
Removing a stainless steel splashback is a delicate process that requires care, the right tools, and a good dose of patience.
Here's a step-by-step guide to help you:
Materials Needed:
- Utility Knife
- Putty Knife or Scraper
- Gloves
- Safety Glasses
Step 1: Prepare the Area and Ensure Safety
Before starting, clear your workspace. Move any kitchen appliances away from the area to prevent damage.
Put on safety glasses and gloves to protect yourself from any sharp edges or loose debris.
Step 2: Loosen the Edges
Start by using a utility knife to cut along the edges of the splashback where it meets the wall or other tiles.
This step will help to break the sealant or adhesive holding the splashback in place.
Step 3: Pry the Splashback
Insert the putty knife or scraper between the wall and the splashback, starting from one edge.
Be careful not to damage the wall or the countertop.
Gently pry the splashback from the wall.
If the splashback does not come loose, try to locate areas where the adhesive or sealant is still holding it, and cut these areas with the utility knife.
Step 4: Continue to Pry
Continue to pry around the edges and gently work your way towards the centre of the splashback.
Remember to take your time and use gentle force to prevent any damage to the wall or splashback.
Step 5: Remove the Splashback
Once you have loosened the entire splashback, carefully lift it away from the wall.
Step 6: Clean the Wall
After successfully removing the splashback, you'll likely be left with residual adhesive or sealant on the wall.
This can be removed by gently scraping it off with your putty knife.
Be careful not to gouge the wall. If any adhesive remains, you can use a product like Goo Gone or a similar adhesive remover to get rid of it.
Remember, it's crucial to take your time and use the right tools to prevent damage to your wall or countertop.
If the splashback is large or stubbornly stuck, it might be best to enlist a professional's help to prevent damage to your kitchen.
With patience and the right approach, though, you'll have your stainless steel splashback removed in no time.
Related Post: How To Clean A Stainless Steel Splashback
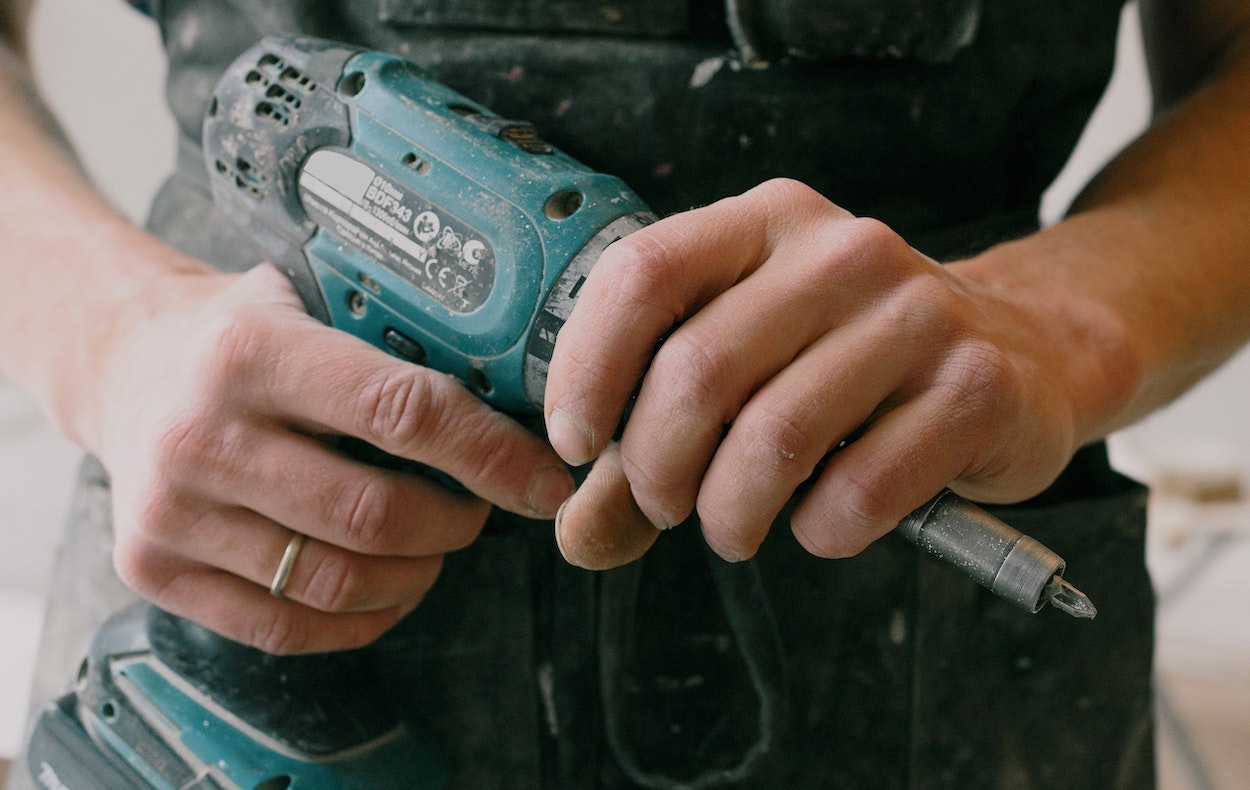
Advice from an Expert Kitchen Fitter and Manufacturer
As an expert kitchen fitter and manufacturer, I've had extensive experience in dealing with various types of kitchen splashbacks, including those made from stainless steel.
Removing a stainless steel splashback can be a challenging task, but it's not an impossible one for a well-prepared and skillful DIY enthusiast.
The process involves a good understanding of the material you're working with, and the right tools.
Even though stainless steel does not shatter like glass, it can have sharp edges that could cause injuries if not handled carefully.
So, wearing protective gloves and glasses is highly recommended.
Related Post: What Type Of Splashback Is Best For A KitchenFinal Notes On How to Remove Stainless Steel Splashback From Your Kitchen
While removing a stainless steel splashback can be a challenging task, it's certainly feasible for a skilled DIYer armed with the right tools and a dose of patience.
Accurate, careful work can result in a successful removal, making way for your new kitchen upgrades or necessary maintenance tasks.
Remember that preparation and safety should be your top priorities.
Ensuring that the area is clear and that you're protected with safety glasses and gloves are vital steps not to be overlooked.
Likewise, having the right tools at hand, including a utility knife and a suitable scraper, can make the task easier and more efficient.
The process requires patience and a gentle touch, especially when dealing with stubborn adhesive or sealant.
Rushing the removal or using excessive force can result in damage to your kitchen walls or the splashback itself.
So, take your time, and don't hesitate to seek professional help if the task becomes too difficult.

