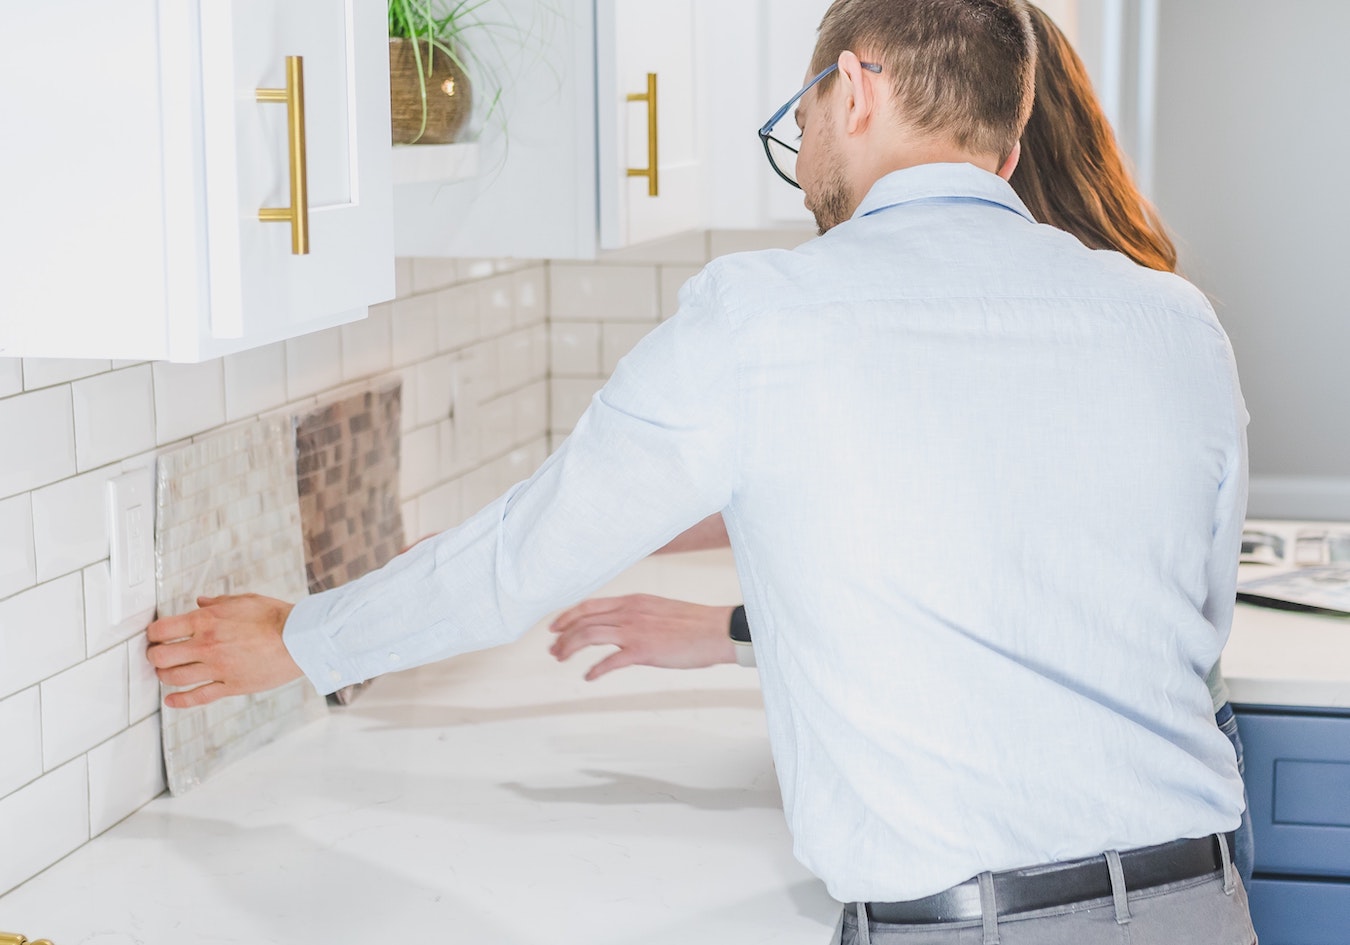
How to Fit a Splashback Over Tiles

Introducing an efficient way to refresh your kitchen or bathroom without the arduous task of removing existing tiles – fitting a splashback over them!
A task that may initially seem daunting, but with the right guidance, tools, and a little bit of DIY spirit, it's entirely achievable.
In this comprehensive guide, we're going to demystify the process and provide you with a clear, step-by-step approach to fitting a splashback over tiles.
Whether you're an experienced DIY enthusiast or a beginner taking on your first project, this post will equip you with all the necessary information and tips to successfully complete your splashback installation.
Click here to see our range of aluminium splashbacks from Alusplash.
How to Fit a Splashback Over Tiles
Fitting a splashback over tiles is a practical way to spruce up your kitchen or bathroom, and with the right approach, it can be a straightforward task.
Whether you're using a glass splashback or an acrylic one, the process remains fairly similar.
Here's a step-by-step guide on how to go about it:
Materials Needed:
- Splashback of your choice (glass, acrylic, etc.)
- Measuring tape
- Pencil
- Silicone adhesive
- Silicone sealant
- Caulking gun
- Clean, dry cloth
Step 1: Measure the Area
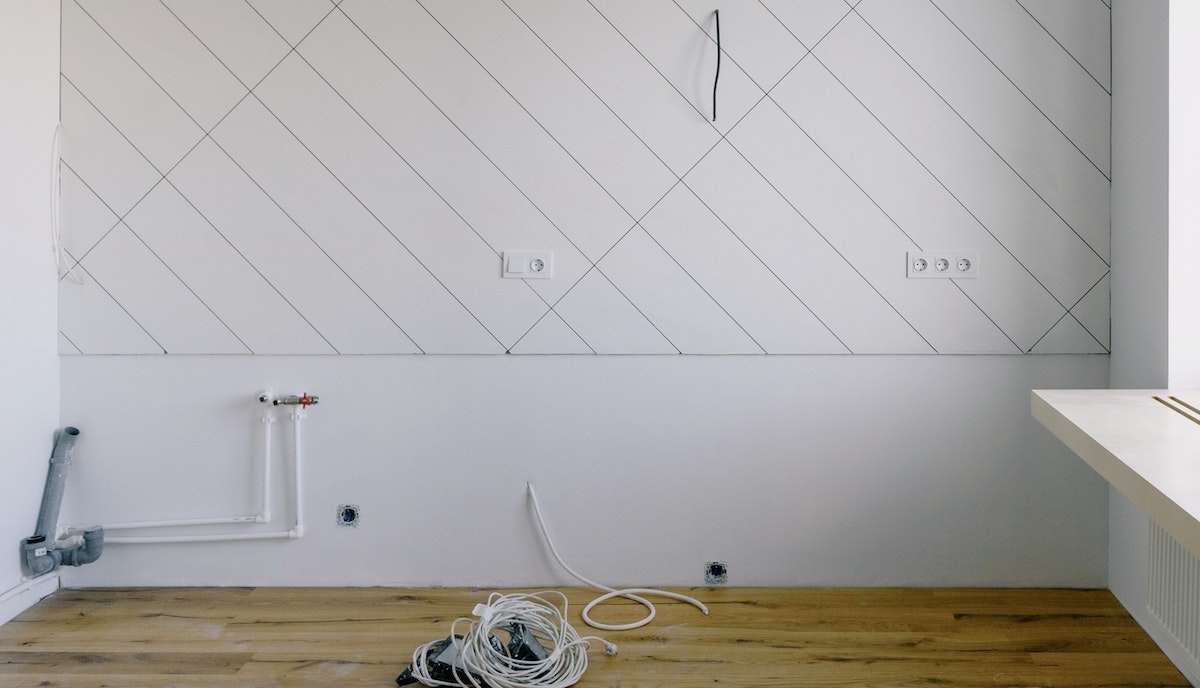
Firstly, you need to measure the area where you want to fit the splashback.
Use a measuring tape to get accurate measurements of the length and height.
Remember to account for any sockets or switches in the area and ensure the splashback you have fits these measurements.
Step 2: Prep the Area
Ensure the tiled surface where the splashback will be installed is clean and dry.
Use a mild detergent to remove any grease or dirt from the tiles.
Rinse thoroughly and dry with a clean cloth.
Step 3: Apply the Adhesive
Next, apply a silicone adhesive to the back of the splashback.
The adhesive should be applied around the edges and in a zigzag pattern in the middle.
Ensure the adhesive is applied evenly and avoid putting too much around the edges to prevent it from oozing out when the splashback is fixed to the wall.
Step 4: Position the Splashback
Carefully align the splashback with the measured area on the wall.
Press it firmly onto the tiles, ensuring it's straight and level. It's often helpful to have another person assist with this step to ensure accurate positioning.
Step 5: Secure the Splashback
Once the splashback is in place, press it firmly onto the tiles to ensure the adhesive makes full contact with the tiled surface.
Wipe away any excess adhesive that may have oozed out from the edges.
Step 6: Seal the Edges
After the adhesive has dried (this may take up to 24 hours depending on the product used), apply a silicone sealant around the edges of the splashback where it meets the worktop and the wall.
This will ensure a waterproof seal and provide a finished look.
Step 7: Clean the Splashback
Finally, use a clean, dry cloth to wipe away any fingerprints or smudges from the surface of the splashback.
And there you have it - a brand-new splashback fitted over your existing tiles.
Remember, accuracy in measurement and patience during installation are key to a successful end result. If you're not confident with DIY projects or if the task seems too complicated, it's always advisable to hire a professional to do the job.
Related Post: What Are Splashbacks In Kitchens

Can You Put a Glass Splashback Over Tiles
Yes, you can put a glass splashback over tiles.
This is actually a popular choice for many homeowners who want to update their kitchen or bathroom without the hassle of removing existing tiles.
However, there are some important considerations to keep in mind:
- Surface Preparation: The tiles should be clean, dry, and grease-free before the glass splashback is installed. Any loose tiles should be repaired or regrouted to ensure a flat and stable surface.
- Adhesive Selection: Not all adhesives are suitable for glass or tile. It's essential to use a high-quality adhesive that is specifically designed for glass and can adhere well to a tiled surface. Clear neutral cure silicone is often used for this purpose.
- Splashback Preparation: If the splashback needs to be cut or drilled (for example, to accommodate outlets), this should be done before the splashback is installed. Glass is difficult to cut or drill after it has been installed, and doing so could cause damage.
- Measurement: Accurate measurement is crucial when installing a glass splashback over tiles. The splashback needs to fit perfectly over the existing tiled area. It's important to take into account any outlets or appliances that the splashback will need to accommodate.
- Professional Assistance: While installing a glass splashback over tiles can be a DIY project for those with the right skills and tools, many people opt to hire a professional. A professional installer can ensure that the splashback is cut to the right size, that it fits perfectly, and that it's safely and securely attached.
It's important to take the time to properly prepare the surface, use the right materials, and, if necessary, seek professional assistance.
Related Post: How To Fit A Glass Splashback To A WallSome Advice from an Expert Kitchen Fitter and Manufacturer
As an experienced kitchen fitter and manufacturer, I've overseen and performed countless installations of splashbacks including over tiles.
This task, while it may seem daunting, can be effectively completed by a skilled DIY enthusiast who possesses the right tools, patience, and a meticulous eye for detail.
The first thing to understand is the importance of preparation in such a task.
Existing tiles provide a different type of surface to work with than a plain wall would, and understanding how your chosen splashback material will adhere to this surface is key.
Tiles are generally smooth and moisture-resistant, which can present challenges with certain types of adhesives, so choosing the right one is crucial.
Secondly, precision in measurements cannot be overstated.
A splashback needs to fit perfectly within the space it's intended for, accommodating any outlets, fixtures, or unique contours of the wall.
A single misstep in measurements could lead to improper fit or gaps, so taking the time to double or even triple-check measurements is a wise investment of time.
Thirdly, the tools for this job must be chosen carefully.
A strong, reliable adhesive is paramount - you don't want your splashback coming loose over time.
Additionally, a high-quality caulking gun will provide better control over the adhesive application, ensuring a clean and even result.
Lastly, safety is paramount, particularly if you're working with a glass splashback.
Always use appropriate personal protective equipment, handle the materials with care, and ensure your workspace is safe and uncluttered.
Final Notes On Fitting a Splashback Over Tiles
We've now walked through the entire process of fitting a splashback over tiles, and I hope this guide has shown you that it's an achievable DIY project.
By following these steps, you can transform your kitchen or bathroom with a fresh, modern look without the need for a complete remodel.
It's a task that requires some patience, precision, and a bit of DIY spirit, but the result can be highly rewarding.


